Wednesday, September 14, 2016

The Christmas Card Adventure Begins!

Hello Crafty Friends!

If you're a crafter, Christmas might be your biggest time of the year. There are so many ideas and so many possibilities. And, you need to start early. This blog post is all about the cards. I'm offering lots of Christmas card making classes this year, so that participants can have fun AND get the work done.

If you're interested in attending or in to go options, check out all the info on my social media sites or my web site, click here. Or send me an email at audramonk@yahoo.com.

This is a picture laden post, if you need more specific details on "how to" or what Stampin' Up! product was used, just ask, I'd be happy to pass on that info.

So, my friends, sit back for a moment and enjoy...

My first Christmas card class got us going strong, we made 20 quick and easy, mailable cards.
4 each of 5 designs.


A few close ups:

Here's some of that lovely Stampin' Up! designer series paper.


Here's what 144 Christmas cards look like before they're assembled:


Card stock....it's so pretty!

Here are the happy and accomplished class goers:


One friend got a flat tire and couldn't come, so the next week, I took the class to her! We met at a Panera, half way between our houses as she lives a bit away from me. We had a great time chatting and putting the cards together. We even had to get a bit creative when I realized I had forgotten a few acrylic blocks. We used a stamp case, and my phone!


Christmas card class number 2 featured a few cards that were a bit more involved. 
We made 2 each of 5 designs. ( 1 each of the stitched cards).

The stitched cards are from a Stampin' Up! kit. Super cute, and everything is prepped for you. (The hardest part was threading the needle).


And a few close ups:
This one might be my favorite. I love this bear!

This tree is from the stamp set Lovely As A Tree, it's an oldie but a goodie, in the annual catalog.


A shaker card! Look for a post with a how to video next week.

This class was a lot of fun! 

All in all, the Christmas crafty season is off to a great start!


The Stampin' Up! Holiday catalog is amazing! 
Go to my website: audramonk.stampinup.net to shop. 
Or contact me and I can help.

I offer classes at my studio, to go classes, and I can bring the class to you!


Sunday, August 21, 2016

It's All About the DSP! Remarkable Blog Hop


Hi Crafty Friends!

For this month's Remarkable blog post, I am sharing my love for paper, especially for the Designer Series Paper (DSP) made by Stampin' Up. I mean, this stuff is amazing!

Why? You may wonder, let me explain. The quality is wonderful, and it's a beautiful weight. It's printed on both sides and there is no show through. It comes in 12x12 or 6x6 sizes. The colors are wonderful and of course, they match the solid colors of Stampin' Up card stock, they go with the ribbons and embellishments. The artwork is also amazing. I like that one side may be a floral or a design and the reverse side is usually a bit simpler. This stuff is just fun to use, it can make your cards simple and beautiful.


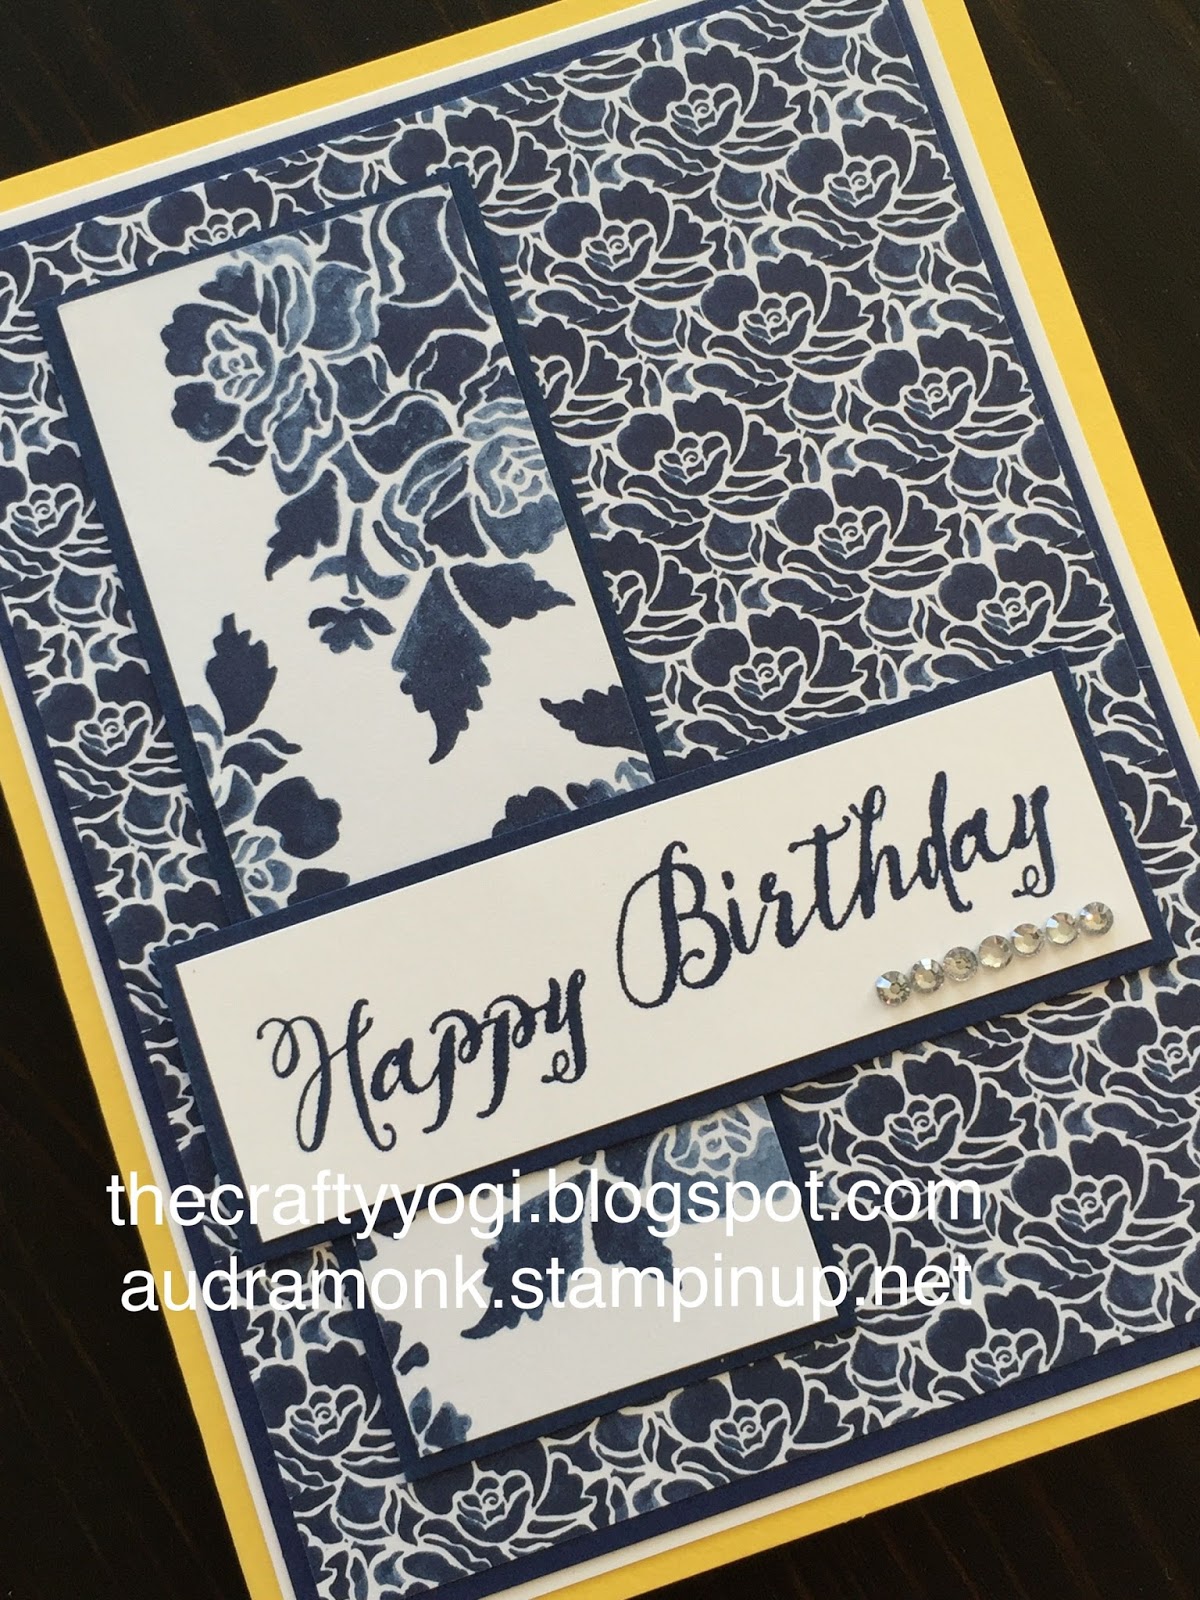
This card features the Blooms and Bliss DSP. I let the paper stand center stage. It's almost like you can't go wrong! Just cut it up, add some coordinating card stock, add a greeting and you are good to go. Here are a few more cards featuring more of Stampin' Up's beautiful DSP.


Floral Boutique DSP


Affectionately Yours DSP


Moroccan DSP


Serene Scenery DSP


Festive Birthday DSP

A Little Foxy DSP

I could go on! In fact, stay tuned for later in the week, I'll be showing off some of our holiday DSP.


For more crafty inspiration, 

Here's the whole Remarkable line up:

Nancy Amato  - http://stampinallnight. blogspot.com/2016/08/ thoughtful-branches- remarkable-stampers.html  

Melissa Bolinger -  http:// creativeblessingsbymissy. blogspot.com/2016/08/ remarkable-blog-tour- thoughtful-branches.html

Tamra Davis -   http://www.theCardLadies. com/remarkable-blog-hop-hello- to-fall/   

Connie Deibler  - http://www.conniestamps.com/2016/08/remarkable-blog-tour-thoughtful-branches.html 

Arden Dougan -  http://stampinarden.blogspot. com/2016/08/remarkable-blog- tour-august-2016.html

Tracie Langley - http://www.stampinup.net/ esuite/home/ traciesallaboutstamping/blog? directBlogUrl=/blog/86481/ entry/remarkable_stampers_ august_blog_tour 
  
Deb Lehigh - http://thestampinhut. typepad.com/the_stampin_hut/ 2016/08/remarkables-blog-hop- august-.html

Anne Matasci  http://wp.me/pCcBw-2ba

Audra Monk - http://thecraftyyogi. blogspot.com/2016/08/its-all- about-dsp-remarkable-blog-hop. html 

Maria Pane - http:// stampinandscrappinwithriri. blogspot.com/2016/08/ remarkable-blog-tour-august. html

Michele Reynolds - http://inspirationink. typepad.com/inspiration-ink/ 2016/08/august-blog-tour.html 

Pam Staples  - http://wp.me/p3p2VA-1vw 

Janet Wakeland - http://wp.me/pHIQD-ao7

Mary Jo Price Williams - http://technostamper. blogspot.com/2016/08/team- blog-hop.html


Friday, July 29, 2016

Crafty Organization, a New Desk!

Hi crafty friends!

For many of us crafting is something we love to do. If we're not crafting, we're thinking about crafting. Or we're thinking about crafting supplies, the ones we have and the ones we need. Or we're thinking about how to organize said crafting supplies!

I thought you might like to see the newest addition to my crafting collection, my super awesome organization stamp desk, also know as the roll top desk from stamp n storage.


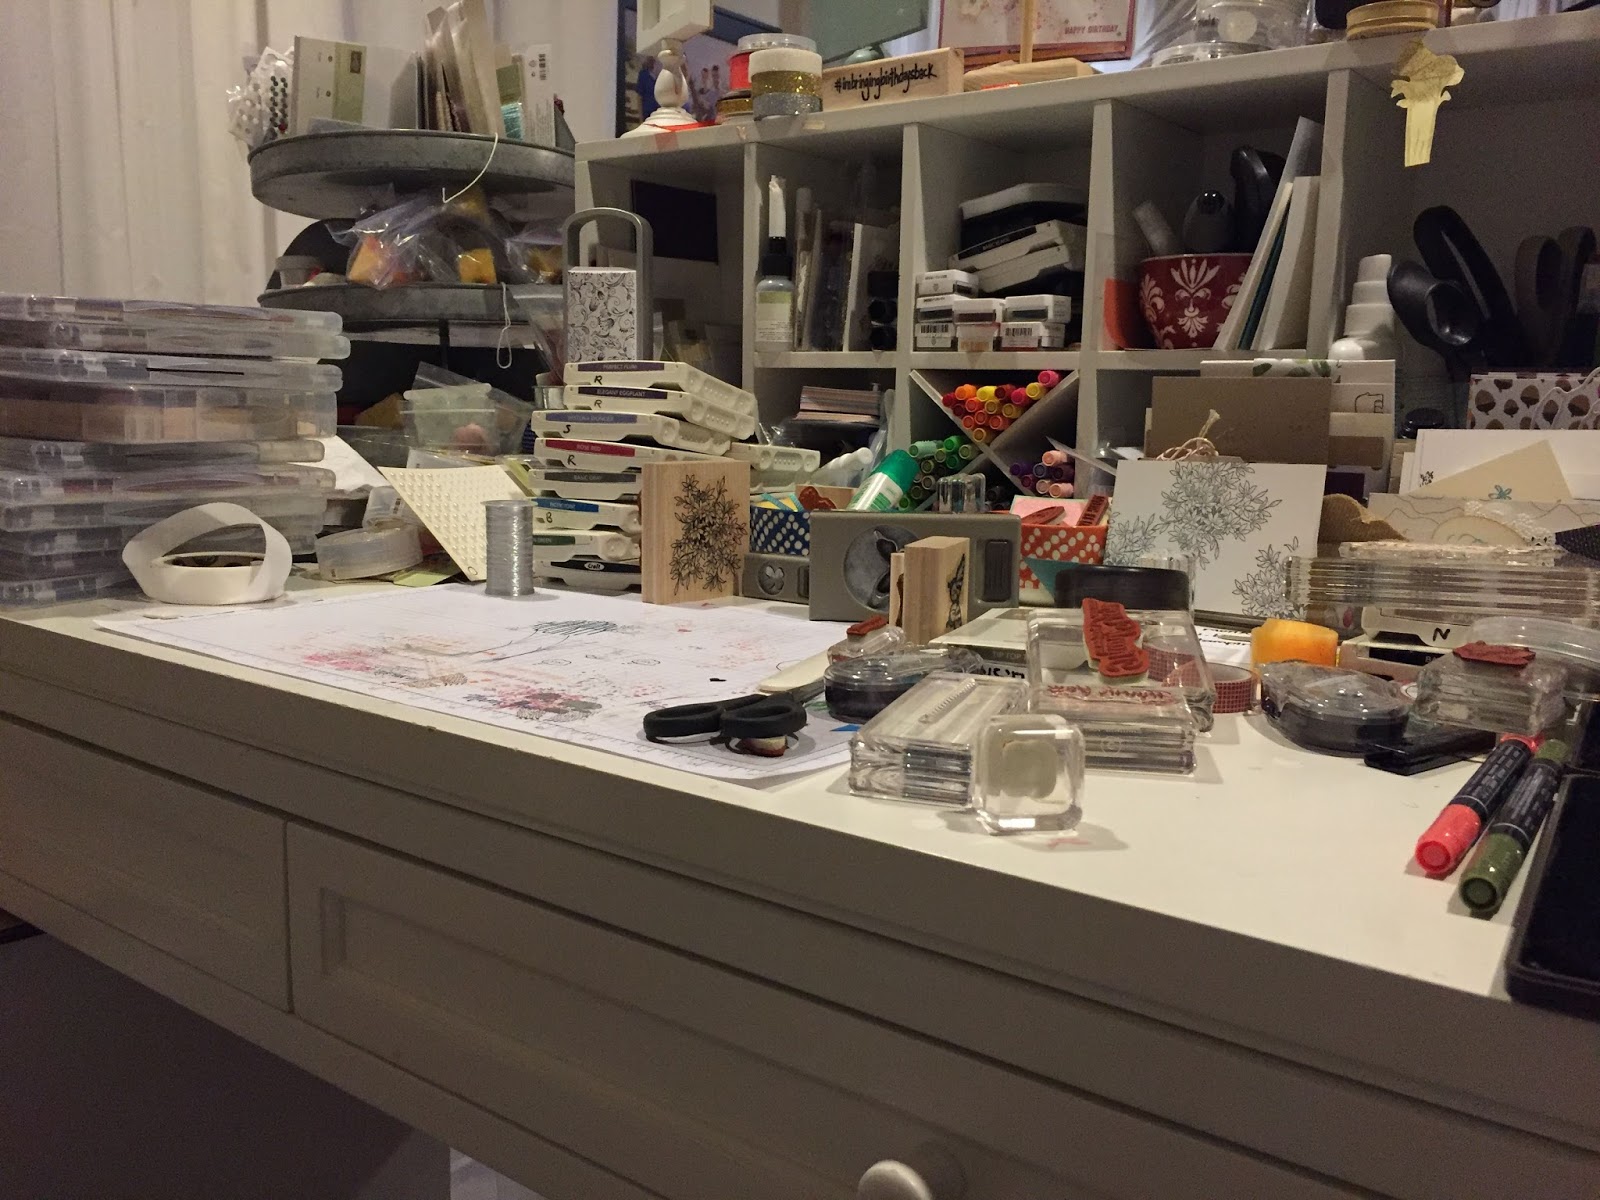
I live in an open floor plan townhouse. I've set up my craft area, which I call my crafty corner, in the back corner of the main level near the dining area (which I use for classes and of course, dining). I had a decent set up from the Martha Stewart collection from Home Decorators that I brought with me when we moved. The old desk fit the space the same, but it often looked like this:


Or somewhat more frequently than I liked, like this:


I had seen the roll top desk on stampnstorage.com, and was pretty sure it would be perfect for my needs. I prefer to face out into the room when I work, so I can interact with my family and look out the windows. Also, the walls in my corner are filled with book shelves, containing books and craft supplies.
The desk is a big ticket item, so I had to wait a bit. I also investigated getting the desk made to 36" height as I like to stand when I stamp, which, with some extra money and time, they could do!! Finally, I ordered, and waited, and the desk arrived!


415 pounds of awesome! We had to deconstruct it a bit to get it in place. And I totally feel it was worth it (my husband and boys may feel differently).

As with all craft organization, it's a work in process. But this is how I have it arranged for now. I have found that I am putting things away as I go...so, I'll keep you posted.

Organization in process.

Ahh...the desk top, look at all of that space!
Ribbon, ink pads, and markers.

The left drawers:

Block storage, die cuts, paper pumpkin stamps, stamp a majig, embossing brush, and enamel shapes.


Envelopes, twine, and glue. Plus pre cut white and vanilla card bases.


Retired washi, extra ribbon, heat tool, and sponges.
The bottom drawer (not pictured) has 8 1/2x 11 files. But I'm not planning to use them, I think.

The right drawers:


Ink refills, adhesives, and scissors.


Check this out!! Punch storage. Awesome!


Embossing powders.


This drawer, I love. 12 x 12 paper storage.

The center drawer:


Current washi, metallic thread, big scissors, hole punches, label maker.

I hope you enjoyed a quick trip around my craft space. I'll let you know how it goes.


Just a last photo with my best helper.

Stay Crafty!
Audra


Sunday, July 17, 2016

A Waterfall of Wonderful, Remarkable Blog Hop


Welcome to this months Remarkable Blog Hop!


I'm so excited! You ever have ideas in your head and they swim around and turn this way and that and you're like aha! But then you wonder will it work? All of that happened in making this card, but the exciting thing is it worked! On the first try even.

I don't make too many wow cards, but I saw a beautiful card from Sue Vine using the Falling Flowers stamps and coordinating May Flowers Framelits, and I wanted to make something similar. It was a waterfall card, which just a few months ago, I had watched a tutorial from Patty Bennet on how to make one, I'd even cut out four, but I had not done anything with them. So after letting the card brew in my head for a bit, I was ready to get to work.


Isn't it lovely? I used the Fruit Stand DSP for color inspiration. Flirty Flamingo is the card base, it's a 1/4 sheet (5 1/2 x 4 1/4). The flowers are Flirty Flamingo, Peekaboo Peach, Daffodil Delight, and Tangerine Tango. The leaves are stamped in Pear Pizzazz and Cucumber Crush.

Let's talk about the flowers first. I stamped them in Versa Mark ink and embossed them in white.


Now, for success with lining them up with the framelits and so you don't drive yourself crazy, use the handy dandy tabs that Stampin' Up put there for us.


So when I stamped all the flowers, I stamped them all with the tab at the top (even though it's pretty hard to see them when stamping with the Versa Mark). Just look at your stamp and keep the tab at the top. After they are stamped and embossed, get out your daubers or sponges, and in a quick moment, you'll have some beautiful flowers!


I mean really, it's so fast! Then get them over to your Big Shot and in a few goes, you have a bouquet.


See, this is where the whole pointy tab thing is really important.

Here's a close up of the flowers, so pretty.


To make the tri-fold or waterfall card base, I used a piece of 12 x 12 Whisper White card stock. You score it at 8 inches and 4 inches. Then turn 90 degrees and cut in half at 6 inches. Then at the top and bottom, make a tiny pencil mark 1 inch in. You cut on the diagonal on your Stampin' Trimmer, and voila! You have 4 cards!

To keep things somewhat simple, I stamped the leaves and the greeting right on the white card stock.


Open it up to do this! For the middle section, you need to flip it over.

Then I mounted the card on the card base with some Fast Fuse. I placed my flowers to get an idea of where I wanted them, then I attached them with Glue Dots.


Here's the card open:


So, good luck making one! We'll be making this card in my class today, I hope it goes well and that they love it. Here's a pic of all the cards we're making today.


Have fun and stay crafty!
Audra