Friday, April 25, 2014

Thank You for stopping by...

I've been off the radar lately.  We are planning a move to Maryland over the summer to be nearer to my husband's job.  So I've been super busy getting our house ready to put on the market.  And now the big day is here! We'll have fancy brochures next week, but with an optimistic mind to lots of "traffic" through the house this weekend, I thought I'd make some pretty little cards to leave out for people to take to remind them of our house.

I used the Create with Connie and Mary color challenge as inspiration.


Here are the cards, I did a bunch of sponging of the edges with crumb cake!


I added the words at the bottom and on the back I wrote our address. 
Here is a close up of the flowers, to give them a little depth, I used the back side of my paper piercer to put a little indent in them.


And finally, just to share here is a picture of our house taken in the Fall.  I love the house and am hoping the perfect family will come along and buy it.  Wish me luck!!


Thursday, April 10, 2014

Bloomin' Wonderful, Flowers, Flowers, Flowers!

Remarkables blog tour time again!  I have one card to share with you today. Have you ever had a time where things are super busy, and your craft area is a long forgotten memory?  That's how things have been for me lately.  So just this morning I took a few minutes and made this pretty card.


It all started with the denim blue ribbon, then I was like "I'm feeling so saffron." And as the blog is about flowers, I stamped the whisper white with the trailing flowers from the thoughts and prayers stamp set. Punch out a few flowers with the itty bitty punch and tada!
Well, enjoy the rest of the hop, I'm sure that you'll get some great ideas!!


Tuesday, March 18, 2014

Watercolor Wonder with Best of Greetings

Paper Craft Crew Card Sketch challenge... I decided to play with my designer series papers for this challenge.  I hadn't really used the Watercolor Wonder paper so I thought I'd give it a whirl.  And I am very pleased.  Here's my card:


The cool thing is this card could go so many different ways by changing the greetings!
Here is the inspiration sketch:


To play along on a future challenge, you can learn about the Paper Craft Crew here:


Monday, March 17, 2014

Petite Petals and Sweet Sorbet!

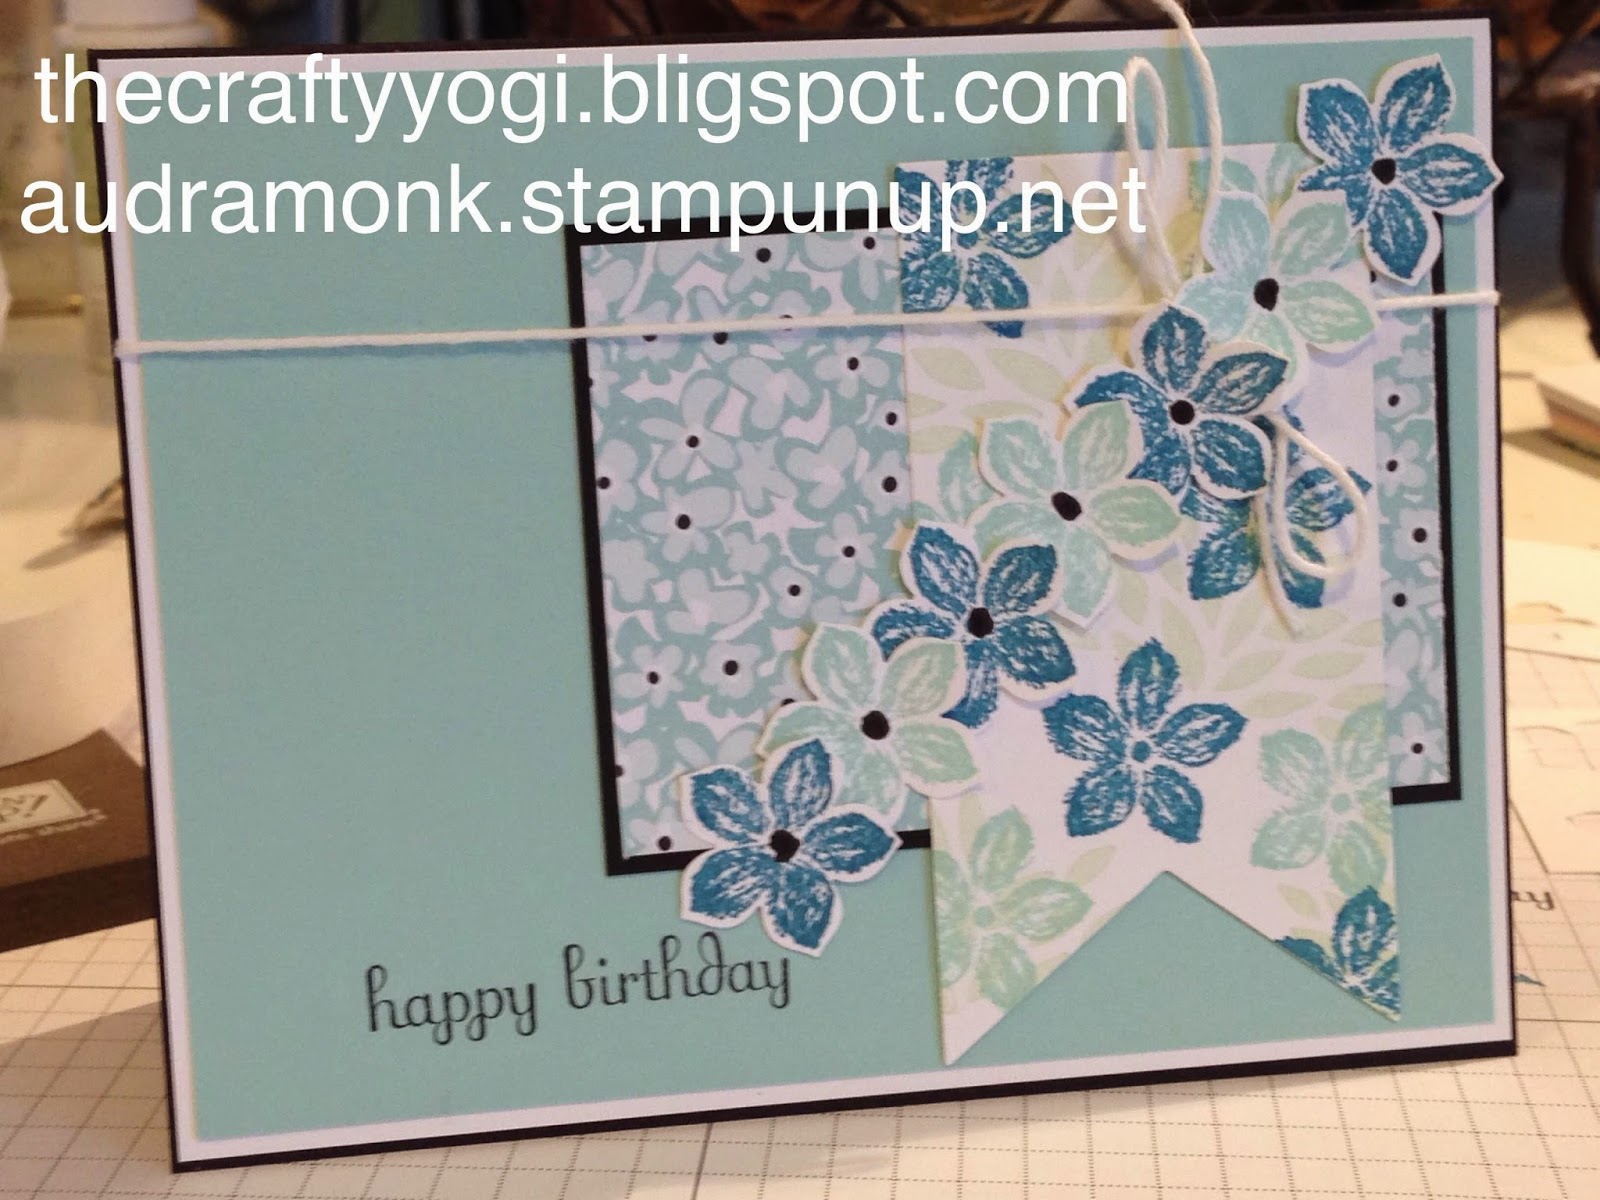
I super love the petite petals stamp set and punch.  If you're a flower person, it would be almost impossible not to love it.  And I'd say I'm almost a flower person...  Anyhow, here it is for the Freshly Made Sketches challenge #127.


I used pool party and island indigo ink to go with the sweet sorbet DSP.  Plus a little bit of pistachio pudding with the petal parade "leafy thing" stamp lightly stamped as the base layer on the banner.  So pretty and so easy!  I sometimes like to keep things simple.

Here's the sketch I was working from:


You can find out more about Freshly Made Sketches here:


Thursday, March 13, 2014

Eggstra Creative, Ideas for Easter

Here we are again with an exciting blog hop from The RemArkables!  This month we have ideas for Easter. My projects feature the Eggstra Spectacular Stamp Set from the celebrations catalog.


For my first card, I went old school traditional, what could be better than colored Easter eggs and grass?  This card also features the delightfully lovely 2013-2015 in colors.  Baked Brown Sugar is the card base and the bottom layer, on which I stamped the Hardwood background stamp in baked brown sugar. The eggs are stamped in versamark ink and heat embossed in white, then I used the emboss resist technique to color them up! Rubbing in the colors using sponge daubbers. A quick oval punch and we have some super cute Easter eggs! I had lots of fun using our new fringe scissors to make the grass! I popped up the grass layers with some dimensional bits to make room for the eggs behind.  The greeting is from teen tiny wishes stamp set. A few mini rhinestones complete the look.


My next cards are cut note card size so that I could use our note card envelopes in crumb cake.  I like the small size cards to send to my "littles" (my nieces and nephews). I added a bit of color with some retro fresh DSP.  I just love the simple images and cute greetings on the stamps.  I adore word play!!


Thanks for "hopping" with me!!


Crystal Kondo - http://wp.me/p2l6Qe-gu
Anne Matasci - http://wp.me/pCcBw-1zq
Pam Staples - http://wp.me/p3p2VA-Il
Jeannette Swain - http://bit.ly/1iCY9NL
Janet Wakeland - http://wp.me/pHIQD-6l6


Sunday, March 2, 2014

Bright Colors and Birthdays

Well, my middle child just celebrated his 18th birthday!  I know the expression says "time flies" and I guess it's an expression for a reason! Birthdays are a time of reflection.  With my daughter two years ago, I made a Facebook album with a picture of her on her birthday every year for 18 years. It was so fun to see her with her cake every year.  So I did the same for my son this year. Wow, reminding us how far he has grown was fun, but bitter sweet. Now that I'm a card maker, I wanted to commemorate his birthday with a fun card that represents some of the things he loves.


My son has loved the color orange since he was three.  And he loves animals. In fact, he had looked through the Stampin' Up! catalog and said I should get this Zoo Review set. When I went to make the card I searched around for ideas, and saw lots of more traditional ones that I know he would have liked, but then I saw a card by Brian King, using the penguin stamp and lots of color, very Andy Worhal.  And I just felt that it would be fun and happy to do something similar. And I am pretty pleased with how it came out! It's a bigger size, 7x4 1/4, so I made the envelope on the envelope punch board.

For all out little cousins and friends, I put together some goodie bags. I stamped the polar bear in craft white and used a stamp from Gorgeous Grunge for the "snow". Then I colored them up a bright bear, and stamped their initial in pumpkin pie.


So wishes for you for birthdays of reflection and fun!  Happy Crafting!


Monday, February 24, 2014

Spiral Flower Die Gift Box


You know when I post to this blog twice in one day, that I'm pretty excited!  Or that I should have posted yesterday... but we'll go with excited.

I'm teaching a Boxes of Awesome class this Thursday and was looking around for more ideas when I stumbled upon the sweetest little box on Pinterest. (Do you follow me there?  click here to follow Audra (the crafty yogi) on Pinterest!)  And this was not the topper on the box in the first photo I saw, but I liked the shape and investigated further.  Which led me to Nadine Koller's site called stemplemami (stampin' mommy?) and it was in a different language!! It's so cool how the web has made the world a smaller place.  Anyhow, the photo there had three flowers like mine.  So I figured out things pretty well, I'm sure I could of found more info elsewhere, but I was committed to trying it from her many photos.

Here are the dimensions and the basic how to info I came up with, and of course you can decorate the top any way you like.


8x8" card stock, I used Sahara sand (sometimes crumb cake needs a break). Using the envelope punch board, score and punch EACH side at 2 5/8" (don't worry about using the score lines here, that's next!)
THEN, use the existing score lines to score and punch each side. Fold on all the score lines and the little wings on the corners come in together.  I clipped off the points on each side (not in this photo). Squeeze the edges together and fold down the now pointless corners with sticky strip on them to hold the corners in.
The lid: this was a bit of a struggle for me, but I came up with: card stock 4 10/16" square, I used pink pirouette.  Score each side at 5/8", snip the corners, fold the score lines and use some Tombo to attach the flaps making the lid.
I made 3 of the spiral flowers, which I softened up with my bone folder and sponged the edges with the same color.  I held them together with some hot glue.
The doily is sponged on the edges with sahara sand and I cut it to the center and crinkled a bit so I could make it a smaller circle.  I attached the flowers with another bit of hot glue to a 1 3/4" inch punched out circle in the same color.
Add a bit of ribbon and linen thread, a pear pizzazz leaf from the little leaves sizzlits, attach the doily to the box lid with Tombo and hahzah!  You have a super pretty box.
I'm hoping you can make some sence out of this, I might need to figure out how to make videos pretty soon!  You can also search out Nadine's blog.

Here's the box one more time.